
Don’t let your precious travel pictures get stuck on SD cards, hard drives and computers–put them out into the world where you and your loved ones can enjoy them. My favourite way to display my many, many travel photos is through photo books. After years of making them (before and after becoming a graphic designer) I’ve learnt a few tips and tricks to help create the best-looking album, in the most efficient way. Here are some travel photo book ideas and tips to create a coffee-table-worthy memoir of your favourite pictures.
Why create a travel photo book?
Here are a few reasons why I find photo books the best for displaying travel snaps:
Portable – I take our latest travel book whenever we go visiting older relatives who are not using the internet and miss all our travel news throughout the year. They love hearing and seeing what we’ve been up to, and the books are easy to tote around.
Physical – Just pick it up and flip through the pages. No need to turn anything on or wait for it to load, it’s a more intimate, tactile experience than looking at photos on a screen. When we have guests, someone inevitably ends up picking one up and flipping through it–in this way they are also great for sparking conversations.
Decorative – Photo books make a beautiful addition to a coffee table. If you live in a rented space and can’t put things on the walls, you can still have your photos accessible and on display.
Keepsake – Travel photo books can be more than just pictures. You can include notes, scanned ticket stubs, an itinerary and excerpts from your travel journal to accompany your images. If you don’t have a travel journal, consider incorporating a travel quote–we have more than 100 fun, witty and inspiring travel quotes for your here.
How to make a travel photo book?
There are many companies that will help you create and print your photo book. I have tried a few and generally come back to Photobook. I’ve used their services wherever we have lived in the world i.e. Australia, Singapore and the USA. The quality of the books is always excellent and I prefer their creative tools.
Though I’m a graphic designer these days and could make my books in Adobe Indesign and have them professionally printed locally, Photobook makes it so easy to just upload and print the end result at such good quality, that I continue to use them. I find they are great value for money, especially if you subscribe to their email list and make use of their promotions. I even used their products to create a photo book of my wedding pictures.
If Photobook doesn’t work for you, my next go-to is Shutterfly. Their creative tools are simpler and less comprehensive than Photobook. This means there is less of a learning curve when getting to grips with their design software.The compromise is less design flexibility. Their print quality is excellent also.
Tips and tricks
1. Conduct a photo exchange
Before you begin editing and sorting your photos for your photo book, exchange pictures with your fellow travellers. Sometimes they may have captured a similar but better picture, or they may have pictures of you that you’d like to include in your album. Tools like Dropbox and Google Drive are helpful tools for exchanging photos at low to no cost at all.
Make your photo exchange immediately after you get home from a trip!!! There are a few reasons for this:
- Act while the trip is fresh in your co-travellers’ minds and they are enthused. The more time passes, the excitement of the trip wears off and is less present in peoples’ minds. Life takes over and sending copies of photos is not on other’s priority list.
- Many people don’t make backups. I asked a friend for copies of photos from a trip a few years before. Her hard drive had crashed in the intervening time and she had lost all her shots. She didn’t even realise she’d lost them until I asked for a copy! Not everyone has the same amount of sentimentality or are as diligent at backing up their files, so get a copy right away.
2. Choose a theme
It’s easy to let your travel photo book get out of hand and the more pages, the more it will cost to print. Select a theme for each book. Some ideas include:
- By calendar year – a travel yearbook of sorts.
- By trip.
- By destination. Combine several trips across geographic region, continent or country. e.g. Pacific Islands or South East Asia.
- By sights and/or experiences e.g. foodie moments, amazing architecture, historic sights, national parks or best beaches.
3. Scan your travel memorabilia
Next, ensure you scan any memorabilia that you would like to incorporate, such as ticket stubs, postcards, boarding passes, programs, maps etc. Type up any commentary, labels or snippets from your travel journal that you intend to include. It’s easier to proof read your text in software such as Microsoft Word, then copy and paste directly into your travel photo album.
4. Compile ALL your images
Load all photos into a folder on your computer named with the trip destination/s, month and year (or other preferred filing system). Don’t forget photos you took on your phone, GoPro and any device other than your camera. Add to this any scanned images from tip 3.
5. Sort and edit
Sort and select your best photos. Edit them first, before uploading them into your photo book creation tool of choice. Uploading high-resolution photos and previewing them in the online tools that photo book companies provide can be very time-consuming. This is a much more efficient way:
- Make a quick sweep over all the photos and get rid of the duds e.g. blurry, dark or otherwise irredeemable images. You can preview your images at a much larger size on your computer than your can in photo book software.
- Rename photos by location in itinerary order. It helps to have a copy of your itinerary handy as a reminder and to help spell tricky placenames. I label all photos with a number infront of it e.g. 01 Brazil, 02 Argentina, 03 Peru… That way, if I sort the folder by name, they fall in order of my itinerary, not in alphabetical order of the location.
- Preview and edit photos in your preferred software first. This could be the standard picture software on your computer or something more advanced like Lightroom or Photoshop.
- Shortlist the best photos to include in your photo book. Upload only those you’ve selected to the photo book tool you’re using. Online, photo book builders don’t provide a great way to preview images and uploading them all will make your job overwhelming. You can always add more later if you fall short of an entire book or you forget some shots.


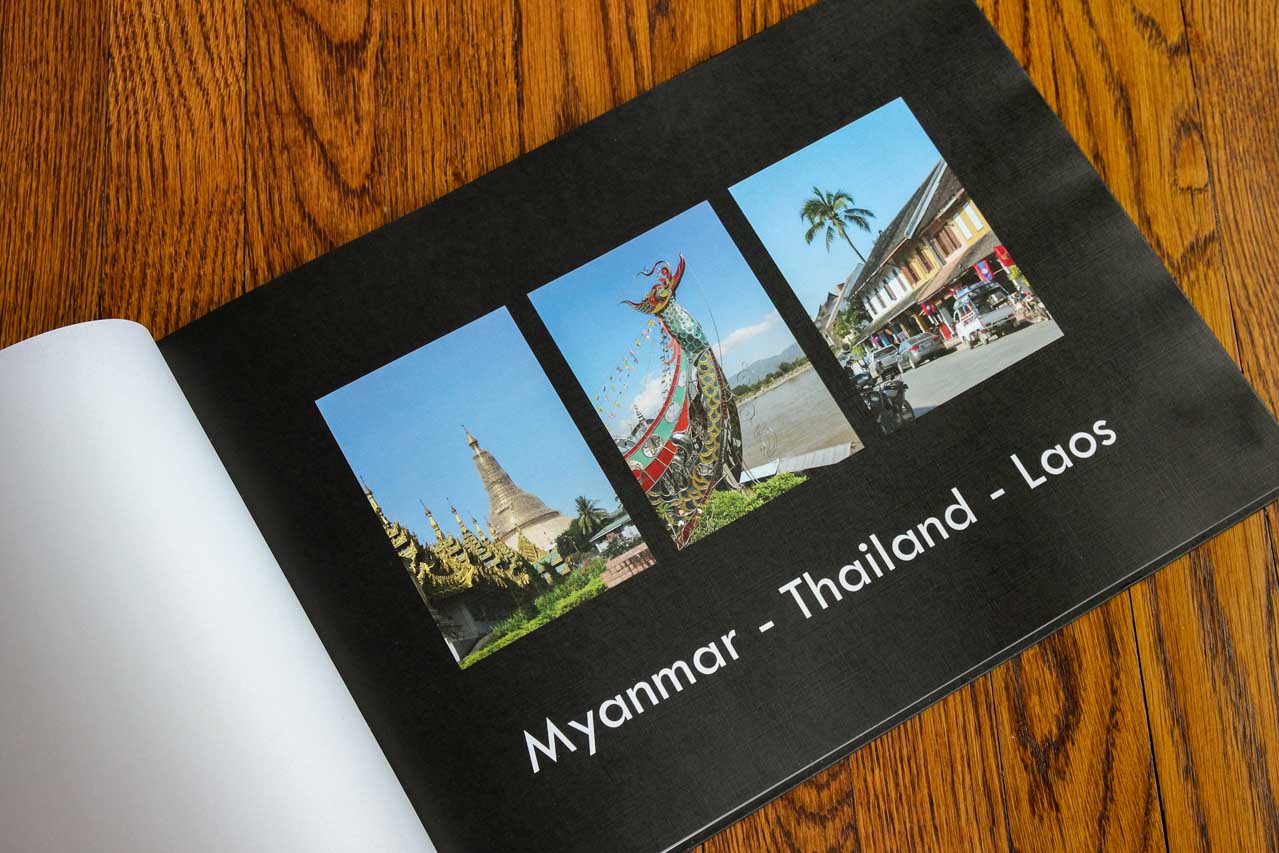
5. Wrap your cover
If you’re using a DSLR or taking very high-resolution photos, you can use an image to completely wrap your travel photo book cover. Photobook offers other quality options such as leather covers, but I find the full cover photos most striking. While editing your images, consider which photos might make great book covers. You will want to choose an image in landscape format (vs portrait) so that it will wrap right around the book without stretching. Pick your numero uno, best of the best shot for your travel photo book cover.
6. Be a storyteller
Consider the story you are telling with your book. Ordering your photos or pages chronologically will take someone through your itinerary as you experienced it. This is especially important if you intend to accompany your images with your travel diary, or commentary along with your photos. This logical order helps your story to flow and make sense to someone who wasn’t there.
7. Make use of professionally designed templates
Photobook and similar online, photo book creation tools, have plenty of beautiful travel photo book templates to suit every style. Don’t worry, these templates aren’t rigid, they are just a starting point and a time saver. You can always tweak them to make your travel photo book 100% your own.
By using these templates, you will benefit from the expertise of professional graphic designers who consider size, proportion, spacing and typography to make your travel photo book the best it can be. You just drop in your photos and text and presto… you have a beautiful travel photo album.
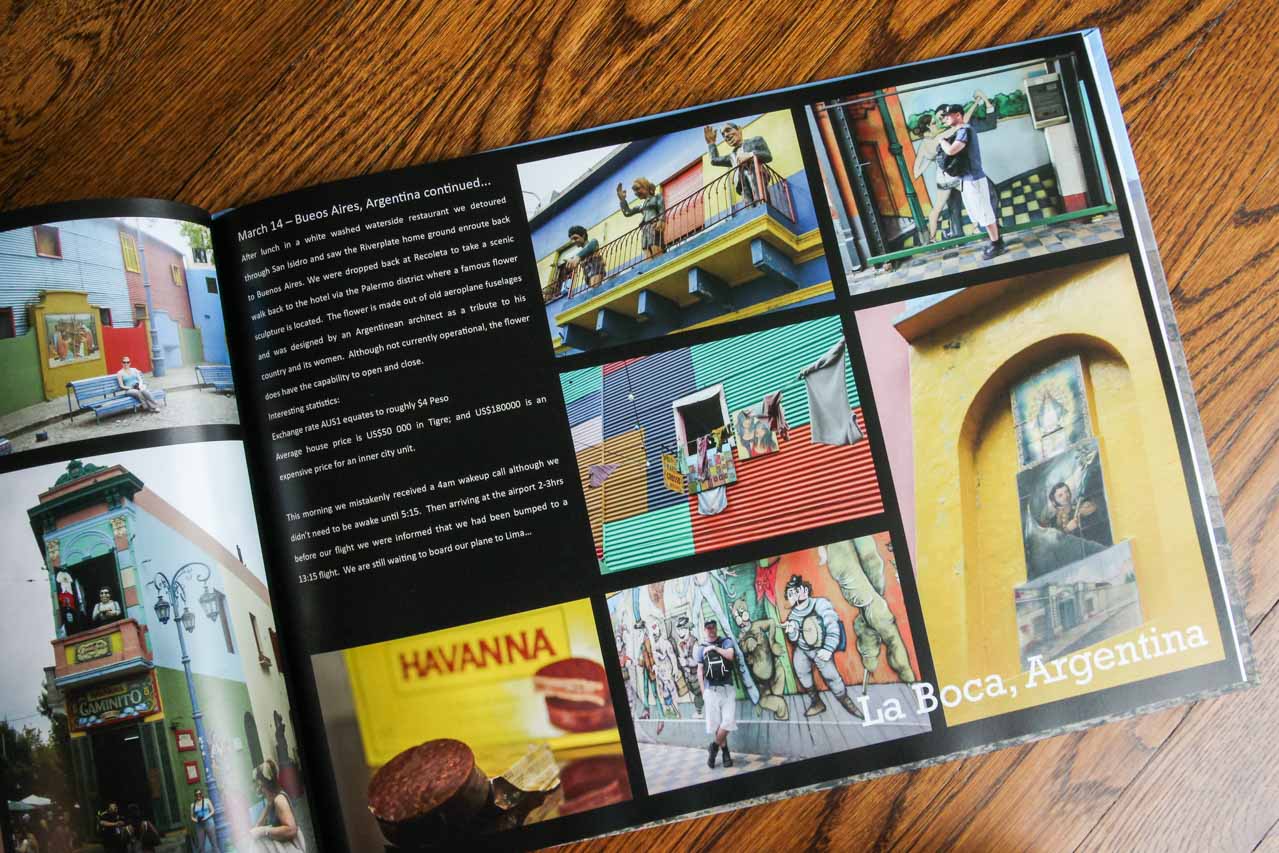
8. Be consistent with colour
Consistency is key to making your travel photo book design more polished. Be consistent with any colour you add throughout the photo book, especially page backgrounds. Using 2-3 colours will help to maintain cohesiveness, and can bring together a group of photos with different colours in them.
Choose at least one light and one dark colour so that you will be able to create contrast between images taken in different lighting conditions. For instance, you might want a dark background for very light images and vice versa. That way your photos don’t melt into the page.
9. Maintain your font selection
As with colour, choose just a couple of fonts to work with throughout your travel photo book for a more professional design. Above are examples where I used one typeface for the title and another for the body text and used that system on every page! Also, be consistent with your text sizes across the entire book – meaning, use one size for all the titles and one for the body text, maybe another size for photo captions or quotes.
10. That one odd picture
Have you got that one awesome picture that doesn’t quite fit into the existing two-page layouts, but you really want to include in the book? Due to the way books are constructed there is a single page at the front and back, which are the perfect place to put that one odd image, and it doesn’t really matter if it’s out of chronological order.
11. Preview, preview, preview
Don’t skip previewing your travel photo book before ordering the print. It’s your last chance to pick up on any mistakes, misaligned photos or blank picture boxes. Once you’ve fixed any errors, preview again. I know at this stage you get anxious to see the final product in print, but don’t be tempted to shortcut this process.
For more inspiration and ideas on capturing great travel images and editing your photos, see these posts:
Creative Travel Photo Ideas and Inspiration
Quick & Simple Guide to Editing Great Travel Photos in Lightroom
What do you do with your vacation photos? Have you ever created a travel photo book? Creating a travel photo book can take some time, but it is oh so worth it – especially when the memories start to fade a little over time.
Peace, love & inspiring travel,
Madam ZoZo


